Probe Crimp Terminal Replacement
Depth Discrete Groundwater Monitoring
Reduce Costs and Field Time
Tools and Materials Needed
- Probe Molex Crimp Terminal Set (set of 10) (#110779)
- 1 ft. of 1/8″ Heat Shrink (#104114)
- Wire Strippers (if required)
- Scissors
- Molex Crimp Tool (see photo) or Suitable Pliers
- Heat Gun
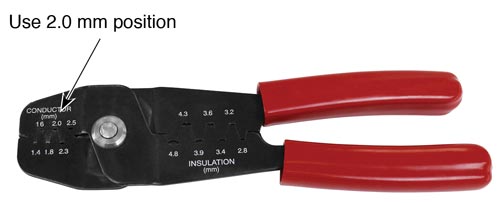
Recommended: Molex 63811-1000 Crimp Tool
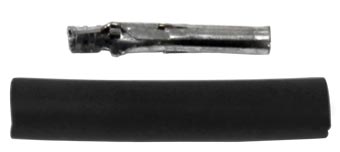
Molex Crimp Terminal
Female and 1/8″x 3/4″
Heat Shrink
Instructions
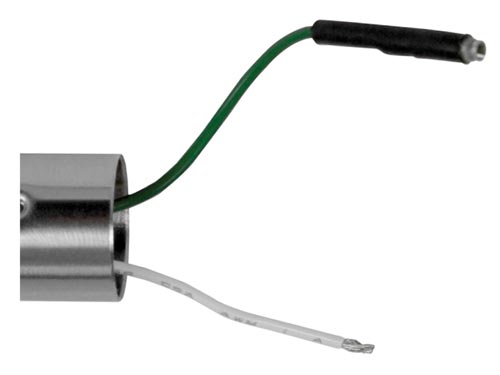
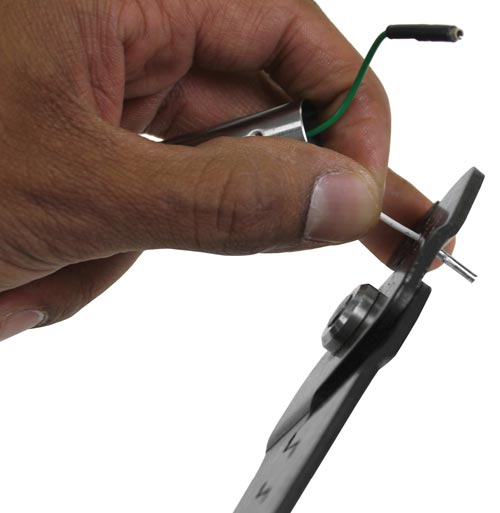
2. Use the Molex Crimp Tool (2 mm position – see photo at top) or suitable pliers to connect the crimp terminal to the wire. Tug the crimp terminal to ensure it is securely attached to the wire.
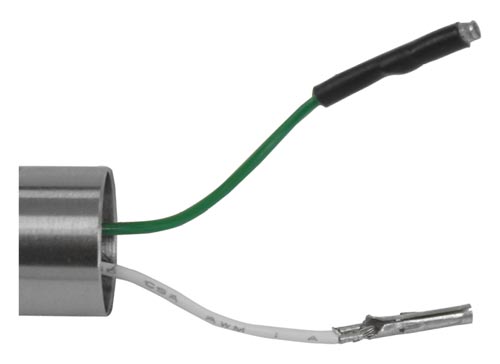
3. Cut off a 3/4″ (19 mm) length of 1/8″ heat shrink.
4. Slide the heat shrink over the crimp terminal so there is only about 1 mm of the crimp showing at the end.
5. Use the heat gun to seal the heat shrink onto the terminal. Ensure a good seal by pressing with your fingers.
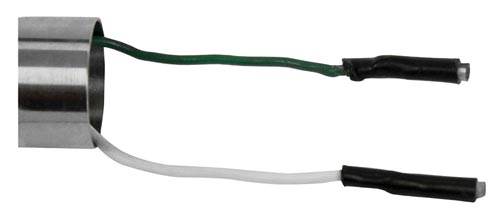
6. Lay the tape and tape seal plug so the numbers on the tape are facing up. Connect the terminal on the green wire to the brass connector on the top of the tape seal plug and the white wire terminal to the bottom brass tube. Ensure the connectors are pushed all the way onto the brass tubes.

7. Slowly twist the probe up to two times. This shortens the wires and allows them to tuck easier into the probe body.
8. Line up the indents in the probe with the grooves in the tape seal plug. Push the probe past the o-ring, then twist the probe clockwise until the probe seats on the tape seal plug.
9. Test that the Meter is working correctly (see operating instructions if required).
Related Products
Bladder Pumps with Easy to Replace Bladder Cartridges
Solinst Bladder Pumps now feature Santoprene® bladder cartridges that are quick and easy to replace in the field – no tools required. PVC Bladder Pumps are low cost and excellent for metals sampling and in harsh, corrosive environments.
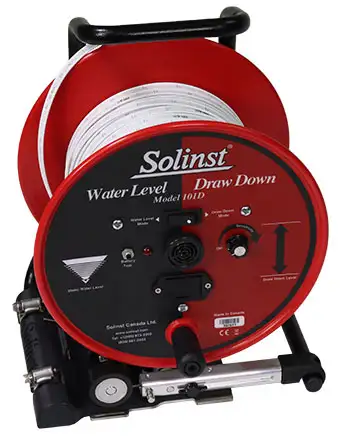
101 Power Winder
The 101 Power Winder provides both convenience and ease of use for all Solinst reel-mounted devices. It is lightweight and easy to attach to small, medium or large size Solinst reels, and is simple to adjust to fit other reels in the market. Effortlessly wind longer tape lengths.
(Image shows 101 Power Winder Installed on Solinst Model 101D Water Level DrawDown Meter)
Multilevel Drive Point Piezometers
The 615ML Multilevel Drive-Point System allows monitoring of up to 6 zones in one drive, using ports with a dual barb stem to attach either ¼" or ⅜" OD tubing. Install using extensions and a Manual Slide Hammer, similar to standard 615 installations, for high-resolution vertical groundwater or soil gas profiling.
Measure Water Levels
Without Lowering Equipment Down the Well
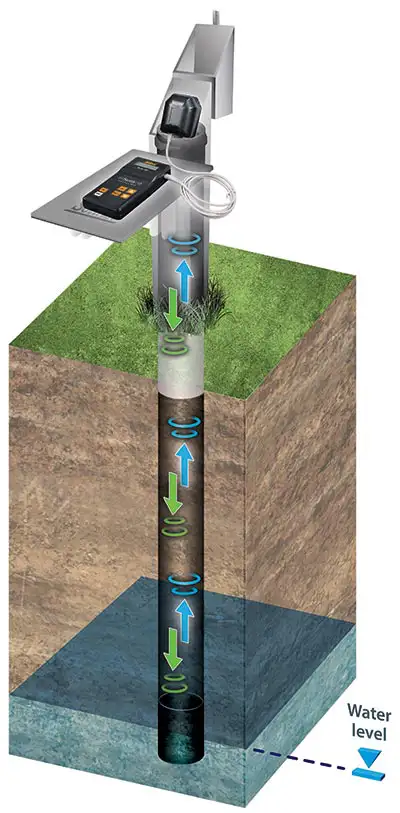
The 104 Solinst Sonic Water Level Meter is a portable, acoustic ranging instrument designed to simply and quickly provide depth to static water level measurements down to 600 m (2000 ft), without the need to lower equipment down a well. Ideal for straight, crooked, narrow, hard to access, or contaminated wells.
Related Blog Posts
The Importance of Measuring Water Level Drawdown
How Using a Levelogger and 101D Water Level DrawDown Meter Together Provides Essential Data.
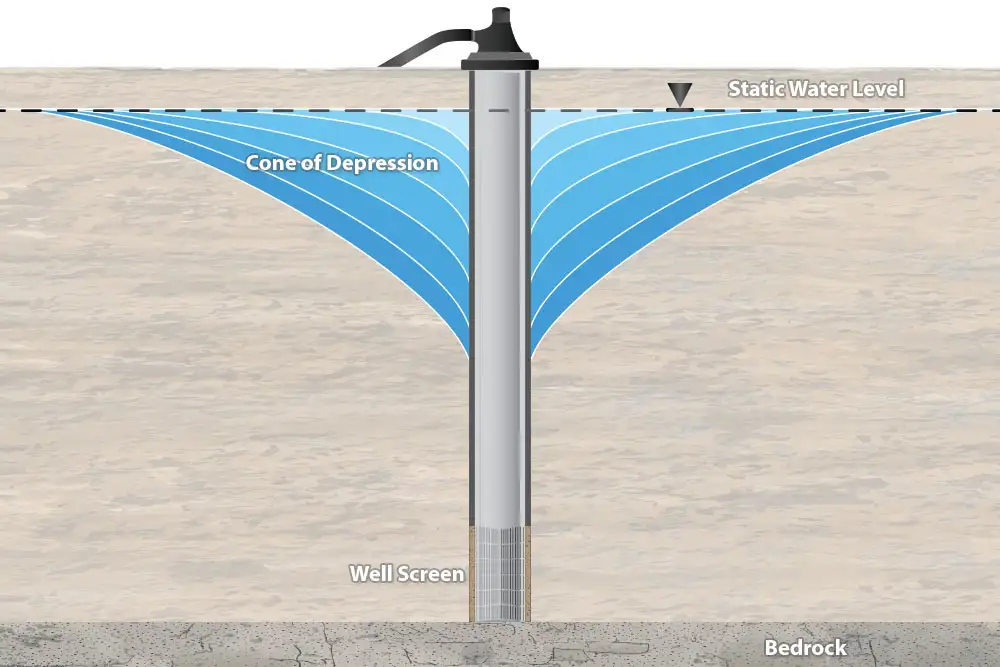
What is Drawdown? Drawdown is a change in groundwater level due to an applied stress, caused by events such as: Pumping from a well Pumping from a neighbouring well Intensive water taking from local area Seasonal declines as recharge rates lower....

