101 Lateral Winder Instructions
Depth Discrete Groundwater Monitoring
Reduce Costs and Field Time
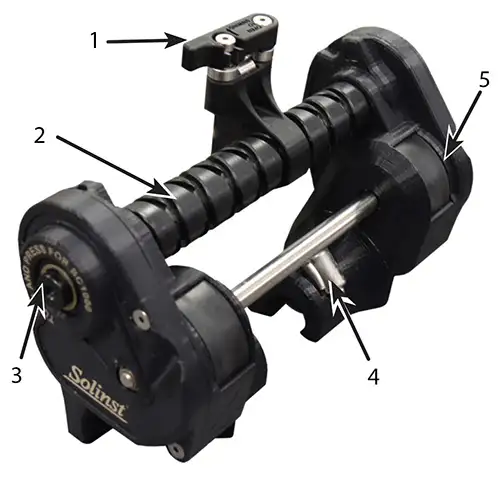
Solinst Model 101 Lateral Winder (#116671) Components
For use with all SC1000, SC2000 and SC3000 Reels
- Latch
- Lead Screw
- Gear Knobs
- Gear Clamps
- Rollers
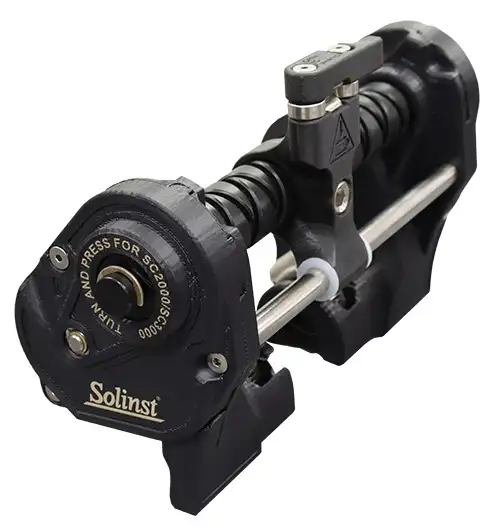
Lateral Winder Installation Instructions
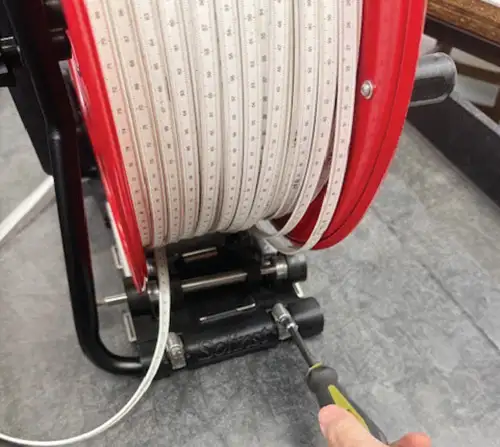
1. Use a large flathead screwdriver or 8 mm (5/16″) socket wrench to loosen the two Gear Clamps, if required.
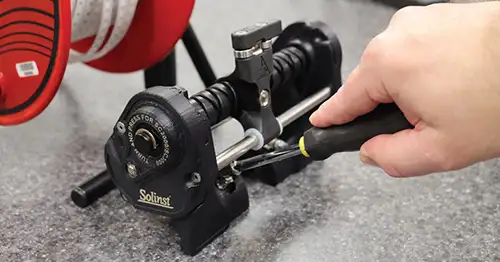
2. With the reel on its right side, slide the Lateral Winder all the way onto the left leg of the reel frame with the Latch away from the hub and the Rollers towards it.
3. Rotate the Lateral Winder towards the reel so the Rollers are in contact with the edges of the reel’s backplate and faceplate.
Note:
Ensure the Rollers are centred on the backplate and faceplate to minimize wear on the reel and Lateral Winder.
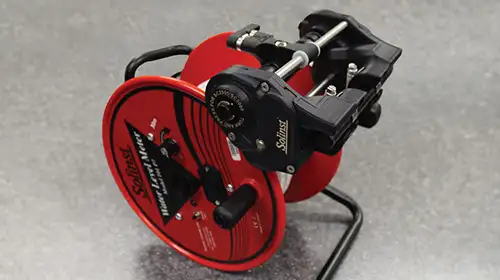
4. With the reel still on its side, tighten the Gear Clamps to secure the Lateral Winder to the reel frame.
5. Place the reel back upright.
6. There is a Gear Knob on either side of the Lateral Winder – one for SC1000 reels and the other for SC2000 and SC3000 reels. Depending on your reel size, while turning the Lead Screw, push in the corresponding Gear Knob until you feel it click into place. This sets the proper gear for the reel size.
Note:
Adjusting the gear can also be done before installing the Lateral Winder onto the reel.
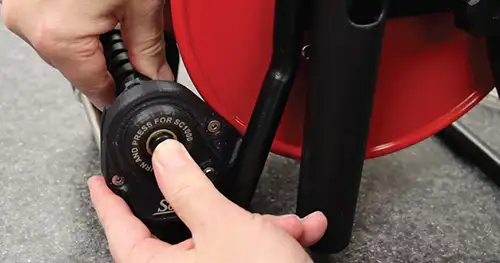
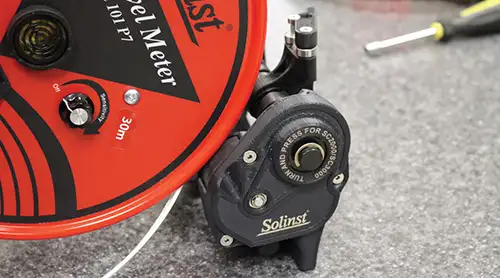
Lateral Winder Operating Instructions
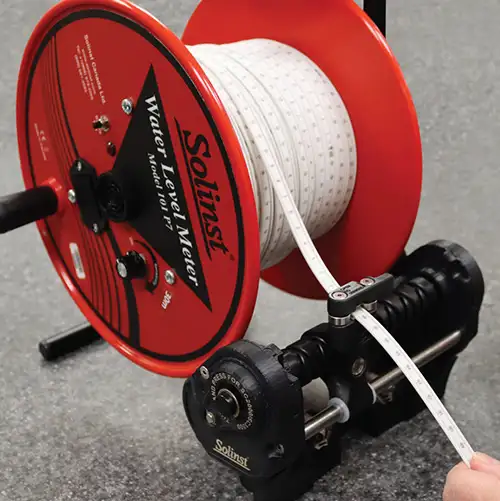
Overview: With the Rollers of the Lateral Winder installed against the reel, the manual winding of the meter engages the lateral mechanism.
1. Using the handle on the front of the reel, operate the meter as normal when deploying the tape for measurements. (See
the specific Operating Instructions for your type of meter.)
2. When finished taking measurements, open the Latch (just pull, and it will swing open) and slide the tape inside. Swing the Latch shut to keep the tape in place.
3. Wind the tape back onto the reel using the handle, and the Lateral Winder will smoothly and evenly wind the tape back onto the reel with the lateral motion of the mechanism.
Installing Later Winder with a Power Winder
1. Refer to the Power Winder Instructions and install the Power Winder to the reel.
2. With the reel on its right side, loosen the Thumbscrew on the Telescoping Arm of the Power Winder on the front of the leg of the reel frame. Move the arm out of the way.
3. Slide the Lateral Winder onto the leg as described in Steps 2–3 of the Installation Instructions section.
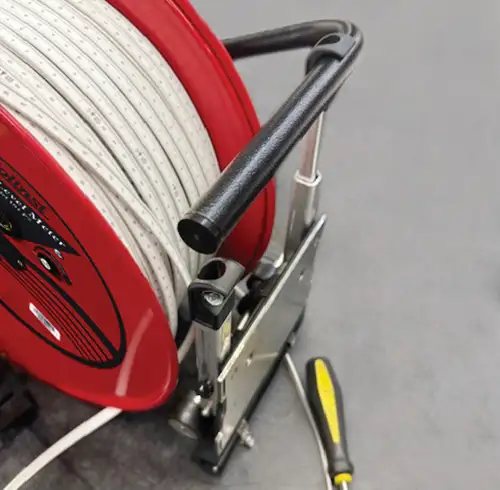
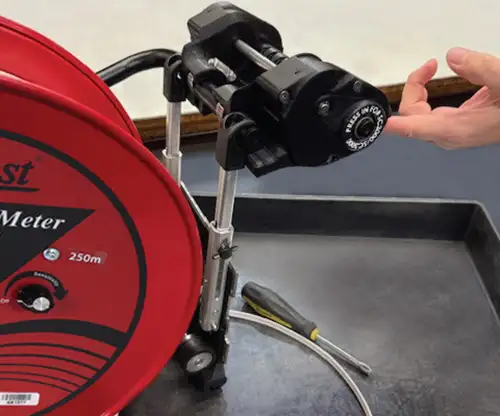
4. Reconnect the Telescoping Arm of the Power Winder to the frame and tighten the Thumbscrew.
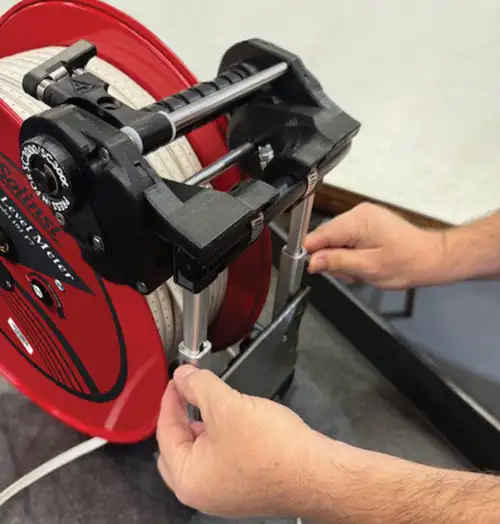
5. Tighten the Gear Clamps to secure the Lateral Winder to the reel frame.
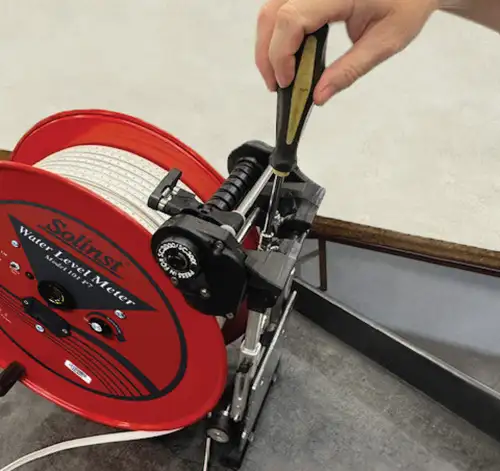
6. With the reel back upright, adjust the Power Winder using its Gear Clamps, if required.
7. Adjust the gear of the Lateral Winder, as described in Step 6 of the Installation Instructions section.
8. Follow the Operating Instructions of the Lateral Winder, together with the Power Winder Operating Instructions.
Related Products
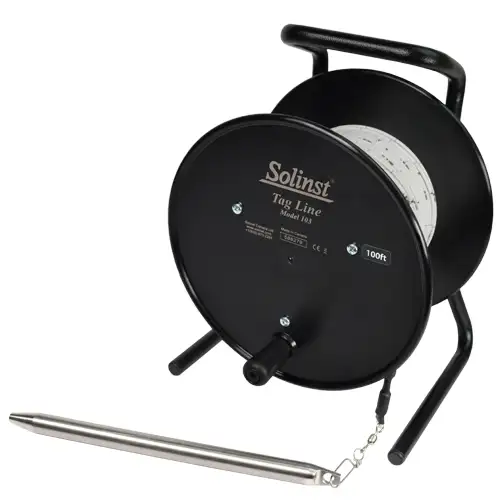
Tag Line - Rugged, Simple, Convenient
The Tag Line uses a weight attached to laser marked cable, mounted on a sturdy reel. Convenient for measuring depths during monitoring well construction.

