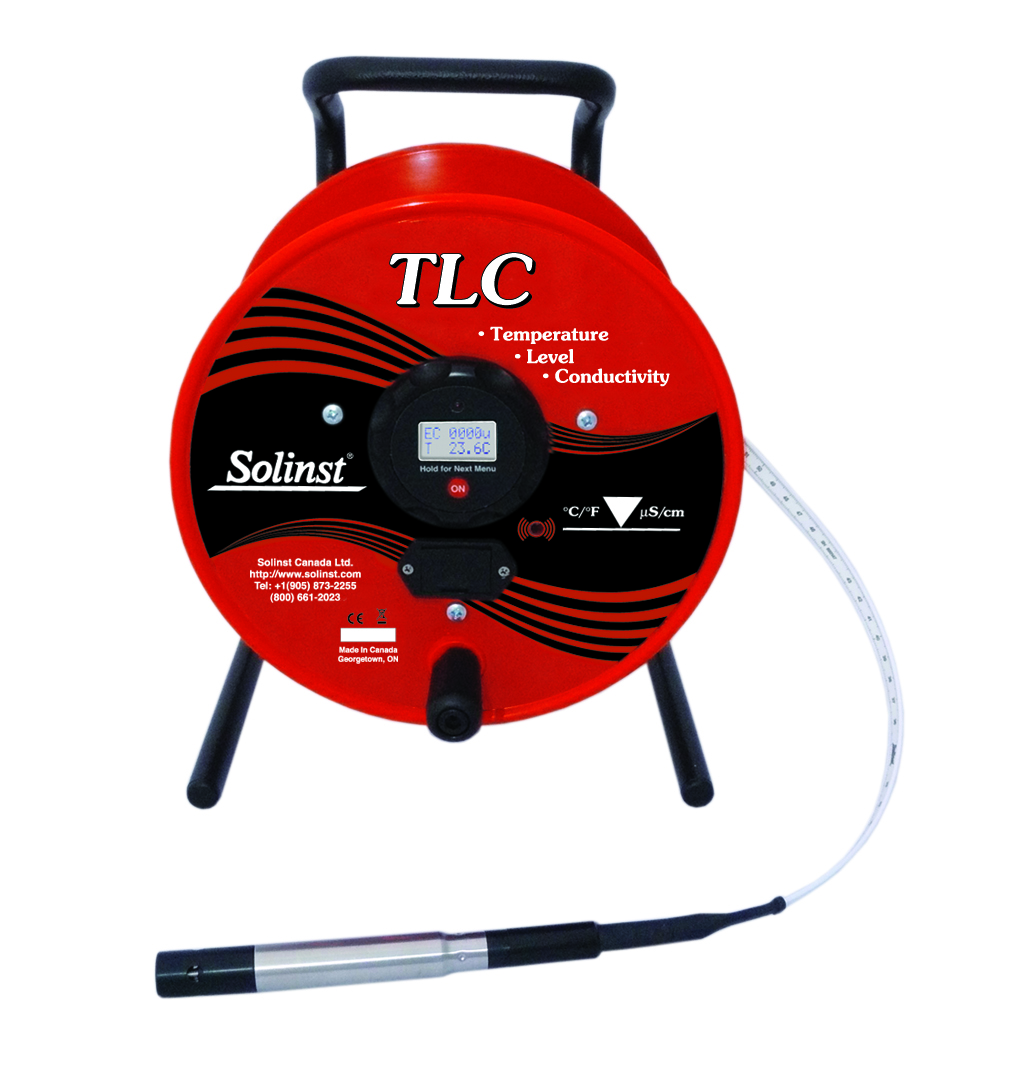
Solinst TLC Meters provide accurate water level, temperature and conductivity measurements. They are ideal for well profiling, monitoring salt water intrusion and for providing a general indication of water quality, at specific depths.
With use, a TLC Meter probe can become slightly degraded due to mechanical, biological, or chemical effects. If you find that your conductivity readings are outside the 5% accuracy range, you can perform a user TLC Meter calibration to get it back into shape.
A Solinst TLC Meter should be regularly calibrated to ensure conductivity reading accuracy.
Here are a few tips to help ensure your TLC Meter calibration goes smoothly, resulting in accurate readings in the field.
1. Clean your probe.
You should clean the probe thoroughly before the calibration, and in between each step/solution if you are doing a multi-point calibration.
To get the sensors clean, pop off the probe shroud.
An extra tip: while you have the probe shroud off, why not ensure the O-ring on the probe is in good shape? A good O-ring seal ensures the shroud stays on while measuring in the field. This is important for protecting the probe sensors, and getting proper conductivity readings.
If there is calcium or other build-up on the sensors, you can use vinegar, diluted CLR, or similar, to get the sensors clean. Use a soft cloth or swab on the sensors. Always finish by rinsing the probe with distilled water.
Clean the probe shroud too. Put it back on before you start the calibration.
If you are performing a multipoint calibration, rinse the probe with distilled water between each step, until the conductivity readings read ~20 µS or less on the TLC Meter. Then, rinse the probe with the next solution you will be using.
2. Use the right solutions.
First of all, you have to use the specified conductivity solutions: 1413, 5000, 12,880, or 80,000 µS/cm. If you don’t, you’ll get errors during the TLC Meter calibration process.
All solutions must be fresh.
For the best TLC Meter calibration, we recommend you use a two-point calibration with solutions closest to what you expect to find in the field. Start the calibration with the solution below that range, then with the one above it.
For example, use 1413 and 5000 µS/cm solutions if you are expecting to encounter conductivities between those values in the field. Calibrate with the 1413 solution first.
3. Stay at the right temperature.
The deionized water, calibration solutions, and TLC Meter (probe) should all be at the same room temperature – and should be maintained throughout the TLC Meter calibration.
With the probe in air, note the temperature on the TLC Meter display before you start the calibration.
Once you have your probe in a solution, and are about to calibrate, wait for that same temperature to display on the TLC Meter. This will indicate the probe and solution are at the same temperature.
Waiting for the probe to properly equilibrate can take from 30 seconds up to a few minutes.
4. Don’t touch the bottom.
Simply put: do not let your probe touch the bottom of the container in which you are conducting the TLC Meter calibration.
You want the calibration solution to reach all areas of the probe sensors to get an accurate reading during the TLC Meter calibration.
5. No bubbles allowed.
Tap, stir and shake the probe.
You want to make sure there are no air bubbles trapped inside the probe shroud before calibrating in a solution. Air bubbles will result in an inaccurate calibration.
Stir the probe in solution to remove the bubbles – this can take from a few seconds to a couple of minutes. It is helpful to use a clear container for calibration, so that you can see the bubbles leaving the shroud.
After stirring, wait for the probe to equilibrate to room temperature.
A Successful TLC Meter Calibration
Use these five tips, carefully follow the TLC Meter Calibration Instructions, and you’ll get an accurately calibrated TLC Meter – ready for use in the field.
For a step-by-step look at how to conduct a TLC Meter calibration, check out our video that walks you through a two-point user calibration.
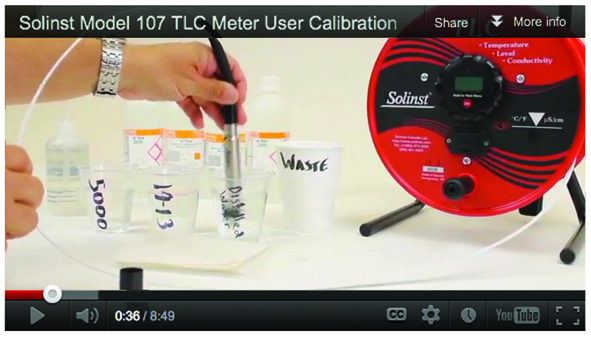
Video: Two-Point TLC Meter Calibration
For more information about the TLC Meter and it’s applications, contact our Technical Sales Staff or Get a Quote!