6) Download LevelSender Software
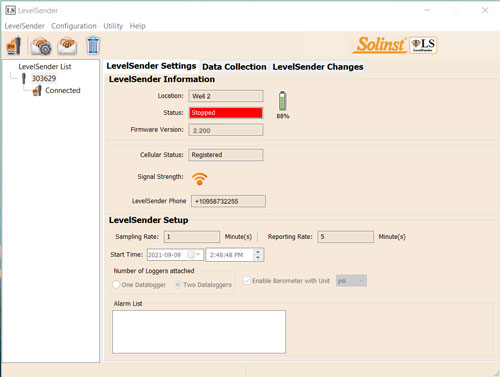
LevelSender Software Main Window – LevelSender Settings Tab
Download the newest version of LevelSender Software on your home station PC, at: www.solinst.com/downloads/
The Software Installation Wizard will guide you through the installation process.
Default Directory is <C:\Program Files\Solinst\ LevelSender>
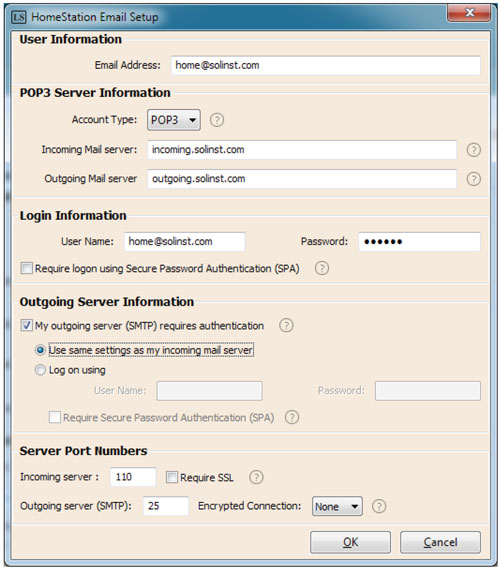
Enter your Email Server and Login Information in the
Home Station Email Setup Window
7) Set Up Home Station Email
To enable your Home Station to receive emails/data, and send remote updates, you must set up a Home Station email. Multiple LevelSenders can report to one Home Station email.
To set up your Home Station email, open the LevelSender Software and click ![]() .
.
Once you have set up your Home Station email, you can test that the settings you entered are correct by clicking ![]() .
.
This will open the LevelSender Email Client. You can access the LevelSender Email Client at any time to view all emails received and sent by the Home Station, including test emails.
Note:
Emails are not required if you are using Solinst Cloud. See separate User Guide.
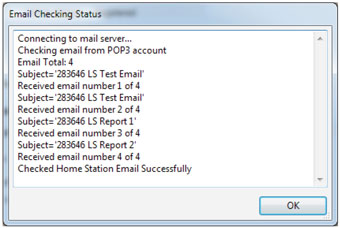
LevelSender Email Client
Note:
The Home Station Email can also be set up by selecting Email Account Configuration from the Configuration menu in the LevelSender Software.
8) Connect LevelSender 5 to PC
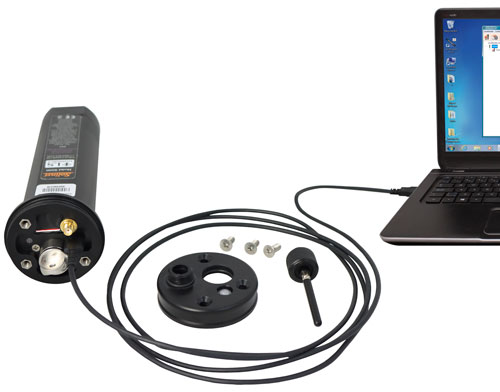
For initial setup and direct communication with LevelSender Software or Solinst Cloud, the LevelSender must be connected to the PC using a USB cable. The connection is accessed by loosening the antenna nut and removing it along with the top cap (see Step 3).
