Up to 10 Settings can be can be customized and saved in the Solinst Levelogger App, which can then be applied to a connected Solinst datalogger.
7.1 Program Solinst Datalogger Settings
To program a Setting, tap Saved Settings from the Navigation Menu.
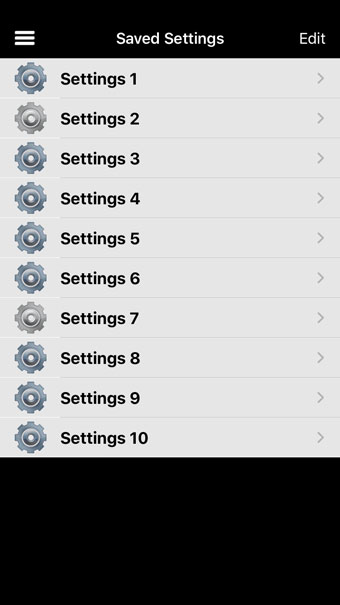
Figure 7-1 Settings Screen - iOS
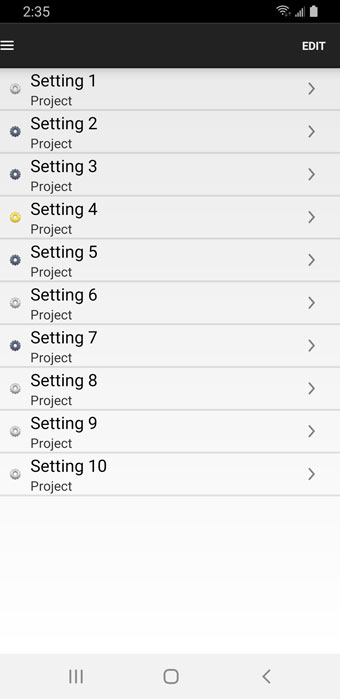
Figure 7-2 Settings Screen - Android
Selecting Edit at the top right of the screen allows you to shuffle the order that the Settings appear by swiping the Setting up or down at the right of the bar. Select Done when finished shuffling.
Note:
The colour of the icon next to the Setting name corresponds to the type of Solinst datalogger that the Setting is programmed for, i.e. the blue/black icon shows a Setting that can be applied to a Levelogger 5, the silver icon shows a Setting for a Levelogger 5 Junior.
Select one of the listed Settings to customize, by tapping the icon next to it. You can customize the following for each Settings:
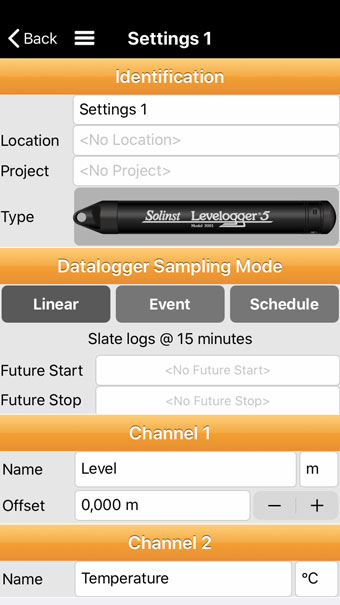
Figure 7-3 Customizing a Setting - iOS
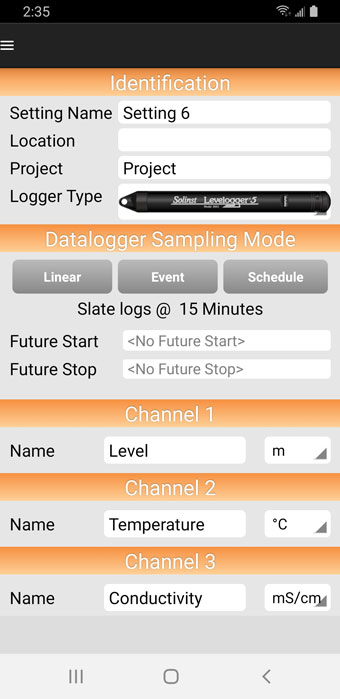
Figure 7-4 Customizing a Setting - Android
Note:
Tapping on the white input fields will activate the keyboard, or enable scrolling to enter the desired settings.
Note:
On an iPad, tapping ![]() will expand the Setting screen to full screen.
will expand the Setting screen to full screen.
Setting Name: Input a name for the settings file.
Location: Input specific site/location information.
Project: Input your own identification system.
Datalogger Type: Select the datalogger type by tapping the datalogger image and scrolling through the image options. Select Done at the top right, after you have selected the datalogger.
Datalogger Sampling Mode: choose between Linear, Event, or Schedule sampling mode (see Section 6.3), and set a Future Start and Future Stop time, if desired.
Channels: program “Level”, “Temperature”, “Conductivity”, and “Rainfall” Channels. See Section 6.4.


